This is a followup to my previous post about my home automation/IoT system. I introduced some of the hardware used to build sensors and now I will look at an architecture for sending data from sensor nodes to a receiver. First I will explain the initial attempt at sending data from nodes and why that was destined to fail. Next we will look at an architecture for data serialization and quick node prototyping.
Doomed for failure
The first attempt at sending data was quite simplistic with data structures being sent through the air. The base structure looked like this:
typedef struct {
 unsigned char type;
 unsigned char seq_no;
} branly_report_t;
From this struct, holding a message type and a sequence number, I defined others for different kinds of sensor data, eg. temperature:
typedef struct {
 branly_report_t br;
 int temp;
} temp_report_t;
sensor battery voltage:
typedef struct {
 branly_report_t br;
 unsigned char vcc;
} battery_report_t;
plant moisture:
typedef struct {
 branly_report_t br;
 int temperature;
 unsigned int moisture;
 unsigned char alarm;
} plant_report_t;
and so on. Whenever I thought of a new kind of node I would implement a data structure for the data being transmitted. The receiver would look at the sequence number to skip duplicate transmissions and, most importantly, the type field to know what kind of data was being sent.
This is a horrible way of doing things.
Each new node type being built would require a copy paste job on both the node side (copy a previous implementation and make changes) and one on the receiver side (again, copy previous implementation and make changes). The receiver would of course require knowledge of all different branly_report_t types.
An actual architecture
The solution? Data serialization. Taking a step back makes one realize that we have do not want system with nodes reporting temperature, other nodes reporting plant moisture and so on. We want a system with nodes transmitting data. There is quite a difference between the two you see. Frankly we do not even care what kind of data nodes transmit until we want to act on it or look at it. Discussing this problem with a colleague I came up with the following model of nodes and contacts.
- A node has an identification number and one or more contacts.
- Each contact has an index number, 0..N.
- A contact has a predefined type that everybody agrees on.
- A contact may define a fixed reporting interval.
- A contact is readable and possibly writable.
- A contact may be violated, eg. a battery contact is violated if the battery voltage drops below a defined limit.
Any transmission from the node would be a reduced to a message with an updated contact property (contact identification number, contact value and flags for violations). A writable contact (eg. an RGB light) would receive messages with the same kind of data. Lots and lots of contact types can be defined and adding more further down the road is not as much of a hassle as the copy-and-past jobs mentioned earlier. Even more important, a node can report any data we want it to. My garage node could report inside and outside temperatures as well as the light intensity level (needed to know if I forgot to turn off the lights at night) without me cooking up some strange data structure only implemented once in one single node.
An example node
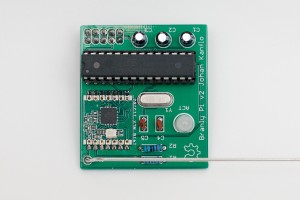
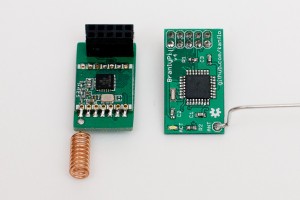
Before diving into how this idea of data serialization is implemented, let us look at an example. The Arduino node sketch below uses the RFM69 ISM radio to send data and has two contacts; battery voltage (reported every 1h 30min) and temperature (reported every 15min).
// Contact value getters
long temperatureValue(bool setValue, long value);
long batteryValue(bool setValue, long value);

RFM69 radio;
BranlyNode node(&radio, HW_VERSION, SW_VERSION);
BranlyContact battery(1, kTypeVoltage, batteryValue, k1Hour+2*k15Minutes);
BranlyContact temperature(2, kTypeTemperature, temperatureValue, k15Minutes);

long batteryValue(bool setValue, long value)
{
 (void) setValue; (void) value; // Contact is not writeable
 return 2940; // Sample data
}

long temperatureValue(bool setValue, long value)
{
 (void) setValue; (void) value; // Contact is not writeable
 return 245; // Fixedpoint, 24.5deg (sample data)
}

void setup()
{
 radio.initialize(NODE_FREQ, NWK_ID, NODE_ID);
 radio.sleep();
 radio.encrypt(CRYPT_KEY);
 battery.setLowerThreshold(2400); // Contact violated if VCC drops below 2.4V
}

void loop()
{
 node.run();
}
Yup, it does not take more code than that to create the full node software stack. Define the node, its contacts with contact getters (and setters if contact is writeable), define reporting intervals and call node.run();
Nodes
A node has, besides its contacts, version fields for hardware and software and an internal state (refer to BranlyNode.cpp). Upon boot the node step though its mCurState state variable until it has synchronized with the receiver. It will go through the following steps, requiring an ACK from the receiver in each step:
- send a ping packet and wait for a response from the receiver.
- send a hello packet with HW/SW versions.
- send a complete list of its contacts.
- send a complete contact report.
- wait until the next reporting interval and send a report on that specific contact
The receiver requires no configuration in order to receive data from a node. Instead, the node will tell the receiver what kind of data it will transmit.
Contacts
A contact (see BranlyContact.cpp) has an index and type as mentioned as well as a getter function and optional reporting interval. Contacts may be “enqueued” meaning its report will be transmitted on the next call to node.run. A button contact will typically be enqueued from an interrupt handler.
The radio protocol
The radio protocol has beed designed to be minimalistic to save power (critics may say the ping packet is not strictly necessary) and the heavy lifting is done in BranlyProtocol.cpp.
Each contact in the contact list (see buildContactListPacket) occupies a single byte, 1 bit for writeable, 3 bits for index and 4 bits for type (currently limiting the number of contacts to 8 per node and contact types to 16 in all, probably needs to be increased).
In the contact report (see buildContactReportPacket), contacts are encoded in 2-5 bytes with a flag field (for tracking violations), a size field telling how many bytes are needed to encode the current contact value and the actual value (1-4 bytes).
Lastly, contact value reports (see buildContactValuePacket) also uses 2-5 bytes and are sent in the same manner as contact reports.
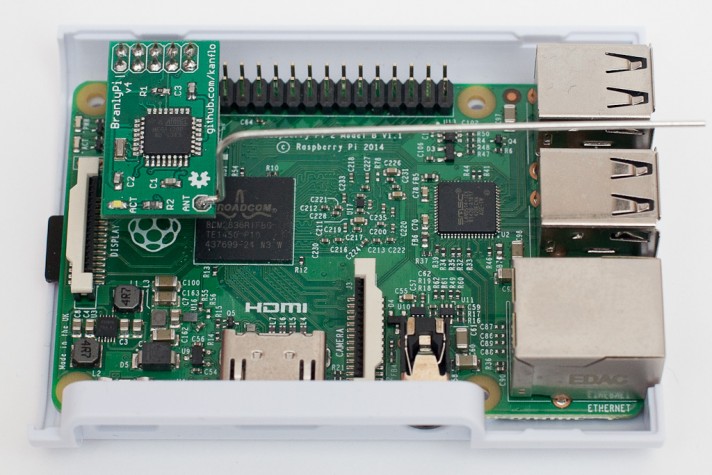
The receiver
The receiver reads frames tom the BranlyPi modem running this receiver sketch. On the host side, the receiver is written in python and posts the received data to an Emoncms installation. The beauty of it all is that the receiver can create the Emoncms feed for each contact for a node on the fly based on the contact list packet.
Closing remarks
The current architecture has really enabled me to quickly prototype new nodes without changing a single line of code in the receiver and very few lines of code are needed to create a new RF node. On the receiver side, names need to be added for nodes and contacts enabling automatic bridging between RF node updates and, say, MQTT. Martin Harizanov is working on something similar and it will be exciting to see what he has come up with. If you know other implementations on this topic, please let me know in the comments below.