More news: read all about the new AAduino Zero.
News: the crowd sourcing campaign for the AAduino will start soon, sign up at CrowdSupply to be notified! The specs have been beefed with an STM32L0 cpu and the temperature sensor is now an industrial grade TMP102.
Update: you can now order the AAduino PCB from DirtyPCBs.com and get a Commadorable 64 bonus PCB for free.
I have been using Nathan Chantrell’s Tiny328 for quite some time as my swiss army knife ISM radio node. Now I wanted a more slim ISM node as my setup with a Tiny328 on a breadboard is not very “deployable”. I could of course 3D print a case for the Tiny328 but I have limited access to 3D printers and do not feel I have the time to explore that exciting part of the maker world just yet. This leaves me with finding off the shelf project boxes with a compartment for 2x AA batteries and the “radioduino” (and in an acceptable form factor). That search came up disappointingly, and surprisingly, short. I did have a set of standard eBay AA battery holders and looking at the 3x variant it occured to me. I needed to shrink the radio node, and the AAduino was born.
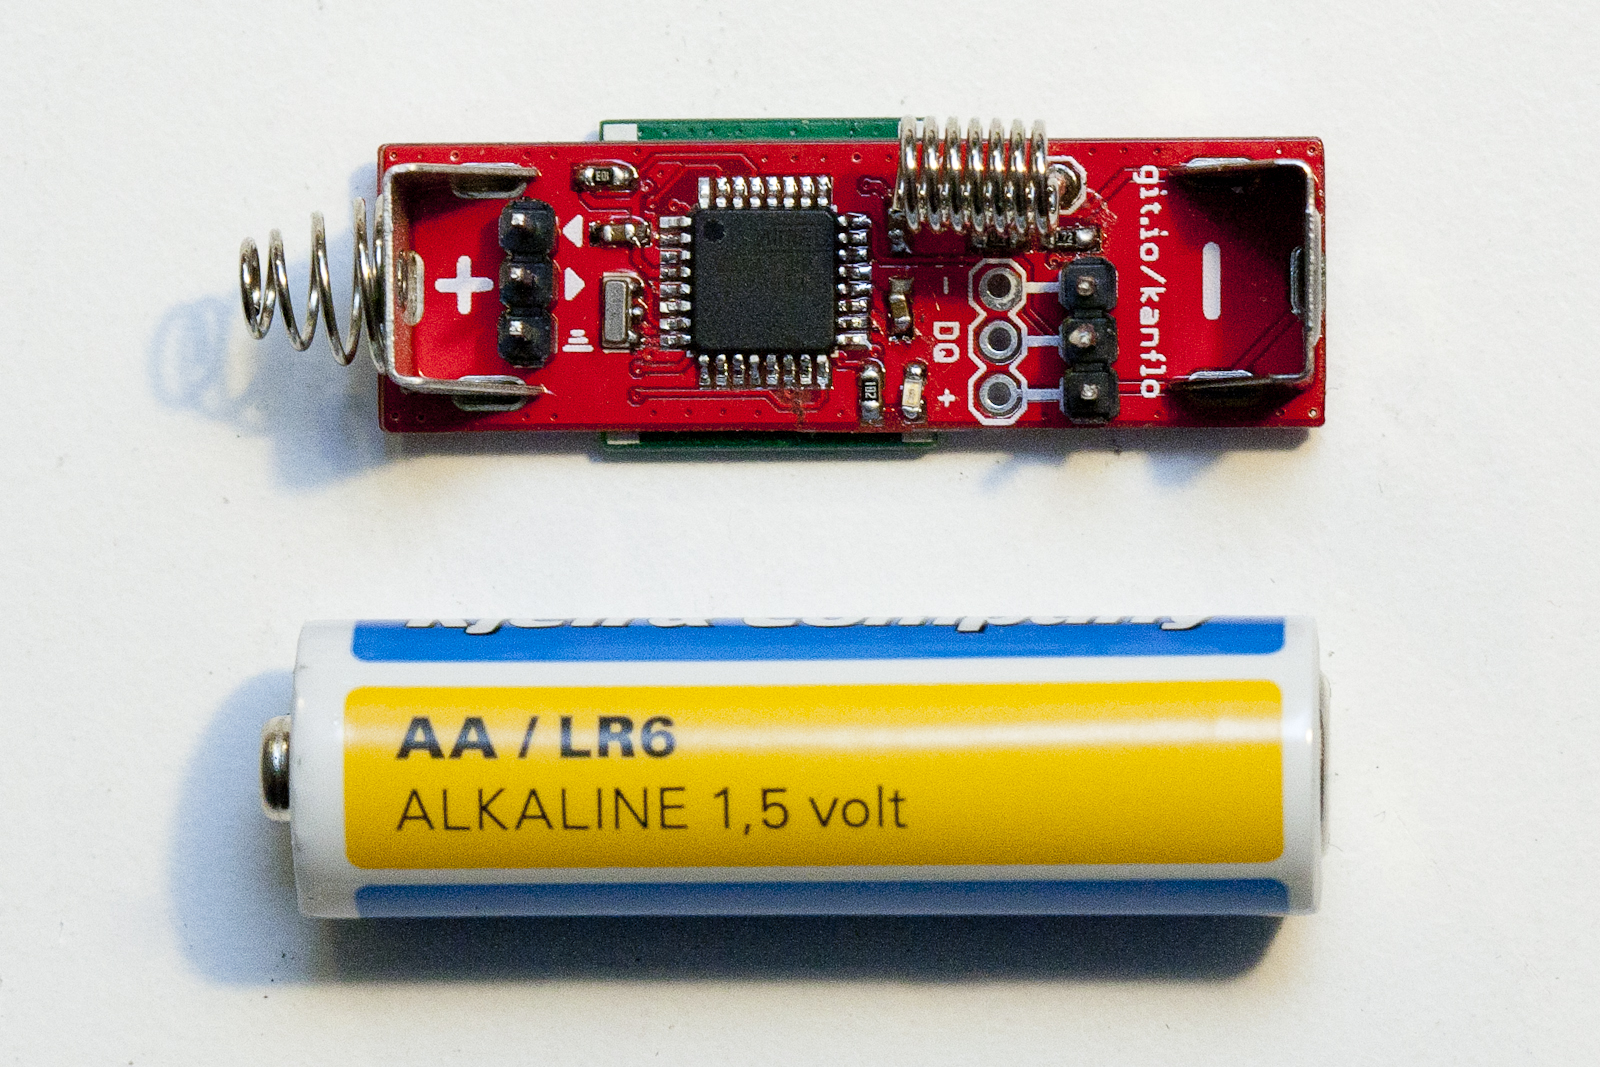
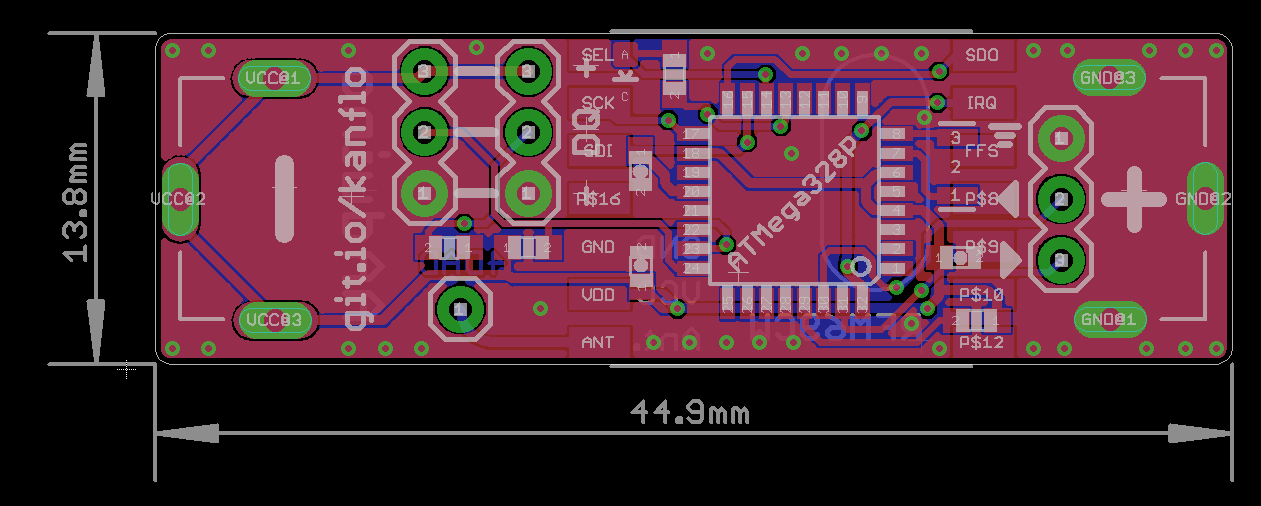
The AAduino is an wireless Arduino clone the size of an AA battery with Keystone battery terminals rotated 180° to act as positive and negative terminals. It is powered by an ATMega328p and is fitted with an RFM69C companion. There is room for two DS18B20 temperature sensors and an indicator LED.

It runs at 8Mhz to allow for greater life span since the CPU can run at a lower voltage. I have fused the 328 to brown out at 1.7V which is a bit out of spec at 8Mhz and slightly below what the RFM69C needs. Running at 4Mhz would be more suitable but I will see how well the node performs when the batteries are draining out.

Since the RFM69C is somewhat wider than an AA battery I used a file to make it slightly narrower. There is some room for that kind of modification without damaging the module. Update, the RFM69C will fit without modification. Next I clipped the legs of the DS18B20 until about 5mm remained and soldered it to the 3x pin header on the AAduino. I then drilled a hole in the battery box where the sensor can protrude and a small hole for the LED to shine through. The wire out of the battery box was cut, shorted and stuffed away inside the box.

I use battery terminals from Keystone available from RS Components, positive and negative. There seems to be a cheap eBay alternative but I have not tested those. The + and – markings on the PCB indicates (this is important, read carefully) the positive and negative poles of the battery we are pretending the AAduino is. The Keystone spring contact should be soldered to the + marking and the button contact to the – marking. There is no protection diode here so be careful. Also note! If you want to power the AAduino from a bench power supply, connect the power supply’s black negative lead to the + marking and the red positive lead to the – marking.
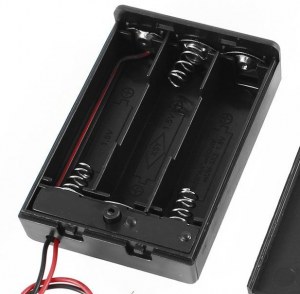
The 3xAA boxes are also from eBay and there seem to be two different types. One that is really good and one that is really crappy. I will let you in on the secret of buying the correct one. The good ones have a nice build quality and plastics and look like this. Note the rectangular piece of plastic below the battery compartment extending from side to side.
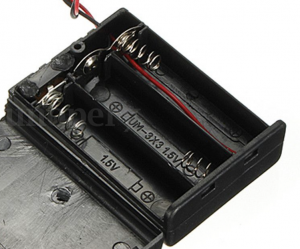
Looking at the crappy ones, well you can tell can’t you? In the top left corner it seems someone used a soldering iron on the poor thing. The lid does not snap in place very well and the plastics is really cheap.
Code, schematics and BOM on Github, as always.