Sometime ago all wifi hobbyist projects where quite expensive. USB Wifi dongles could be found for a handfull or dollars apiece but something easily connectible to a micro controller was also “connected” with a hefty price tag. Then the ESP8266 surfaced…
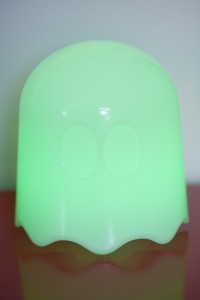
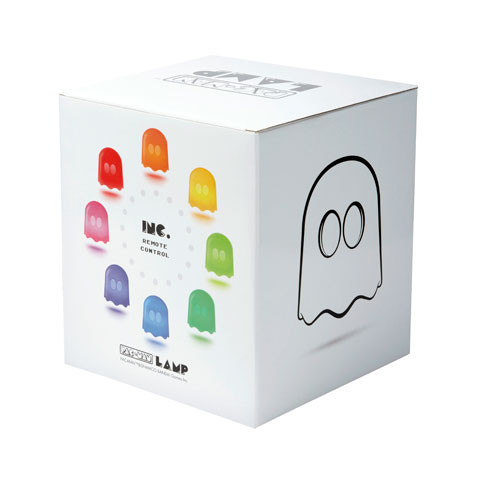
Having just purchased a Pac Man ghost LED lamp on the Black Friday sale I quickly saw an application for the ESP8266. Nothing novel, nothing that hadn’t been done 100 times before but something fun.
The software part
Following in the MQTT footsteps of previous projects I decided against running a server on the ESP8266 listening to yet another protocol implementation. Instead the ghost would listen to an MQTT topic and light up accordingly. I also wanted it to be able to run preconfigured light shows. The ESP8266 runs tuanpmt’s MQTT implementation and listens to the topic ghost/led sending anything it receives to the Arduino which responds to the following commands:
- #RRGGBB – set all LEDs to specified color
- :nnRRGGBB – set LED nn to specified color
- ! – update the LED ring with all LEDs set with the :nnRRGGBB commands
- p01 – run “light show” 01
- * – turn all LEDs off
The “anything it receives” means I can add functionbality on the Arduino without touching the firmware on the ESP8266.
The hardware part
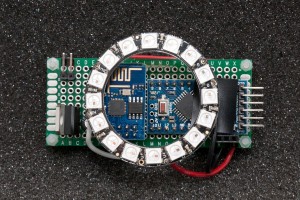
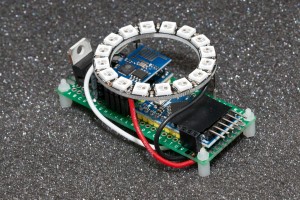
The hardware consists of the following:
- ESP8266-01 board
- Arduino Nano
- 16 LED Neopixel Ring
- Level shifter
- 3.3V regulator with buddy capacitors
- 1A USB charger
I purchased an Adafruit Neopixel ring with the lovely WS2812 LEDs. To save some time I took an Arduino I had lying around to control the LEDs using the Adafruit library. The two systems talks over UART. The Arduino runs at 5V (the level at which it can control the Neopixel ring) and the ESP8266 run at 3.3V which means a level shifter needs to be placed between the two. You can find level shifters almost for free on eBay. The wiring is quite simple. The USB charger provides 5V for the Arduino, the Neopixel ring and the high side side of the level shifter. The regulator provides 3.3V for the ESP8266 and the low side of the level shifter. I threw everything together on a prototyping board, nothing will be visibe anyhow 🙂
Once wired up the ghost can be tested with the command
% mosquitto_pub -t "ghost/led" -m "#00ff00"
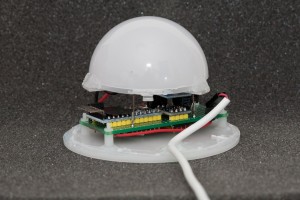
The hard part

Now for the hard part, mounting the hardware inside the ghost. The ghost case is made up of three parts. The dome, the base and a bottom plate where the electronics is attached. The bottom plate is attached to the base using screws and the base is glued to the dome. This leaves the screws on the inside meaning the ghost cannot be cracked open without causing permanent damage. Using a fine saw and a drill I removed the bottom plate, sanded the edges and rinsed the dome in water ro remove the plastic dust. The electronics is mounted on spacers on the bottom plate and I used silicone to reattach it to the dome. It stays in place and reopening should not be that hard.
More software
Controlling the ghost via the command line would not attract much venture capital so I set out to make an iPhone app for controlling the ghost. NKOColorPickerView and MQTTKit fit the bill and resulted in this neat little app I installed on my son’s iPad.
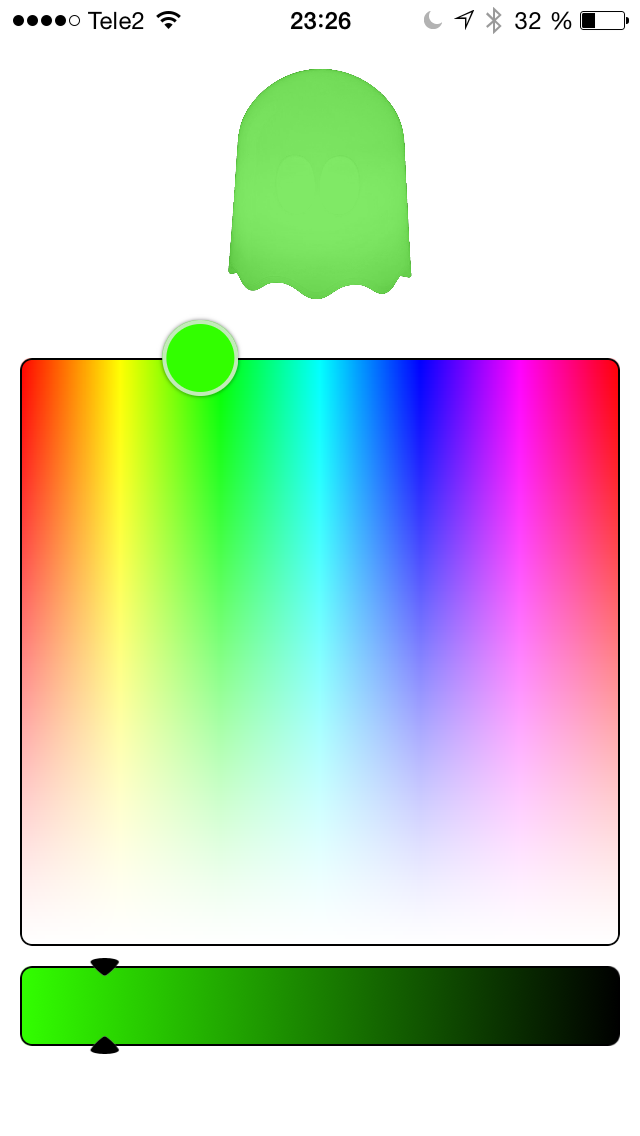
He was somewhat impressed and have changed the ghost color about three times to date which was in line with my expectations. I do have other plans for the wifi ghost, but that’s for another post.
Code available on Github
Final thoughts
In the time between finishing this hack and actually writing about it, Arduino on the ESP8266 has matured phenomenally so today I would skip the AVR. Actually I could replace all the hardware with the WifiPixels.
Gallery